Every time I go to update a SharePoint server I always have to look it up. So I figured that it would be a better use of my time to document the procedure next time ran through the process. So this is how to update a SharePoint 2013 site.
Step 1 – Get the update
First things first, head over to the following site. – http://technet.microsoft.com/library/dn789211(v=office.14)
From there you need to download the update package for the version of SharePoint you are running. In my case I am running SharePoint 2013 Server.
You will need to request the hot fix from the Microsoft Site. So run through that process and then download the packages from the links supplied in the email. (3 in total for this update)
Step 2 – Extract the files.
Once all of the files have downloaded they will need to be extracted. This is fairly straight forward. Double click on each file to get it started and save them all into the same folder.
Step 3 – Run the update
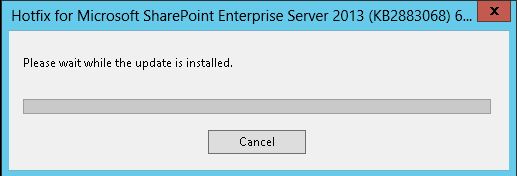
Double click the exe file to start the update.
The update process takes a long time, Once it is finished
Step 4 – Check the database Status
After the update is complete you will need to check the database status at the following location
- Central Admin
- Upgrade and Migration
- Review Database Status
![]() As you can see from the image above the database is running compatibility mode. To upgrade the database you need to run the PSConfig command over the databases
As you can see from the image above the database is running compatibility mode. To upgrade the database you need to run the PSConfig command over the databases
Step 5 – Run PSConfig
Open a SharePoint PowerShell window as an administrator and run the following command to update the databases.
PSConfig.exe -cmd upgrade -inplace b2b -force -cmd applicationcontent -install -cmd installfeatures
This will run through 6 steps which will complete the upgrade process for your SharePoint farm. Once this is complete the Database Status screen above should change to


How to install update packages on a SharePoint farm where search component and high availability search topologies are enabled